As promised, I finally motivated myself (well actually just made the time), to upload some pics of my 16v project. I reckon it will be at least a month before I'm driving again but its going to be worth it. It really is amazing how previous owner's lie about their cars - Dismantling this motor only revealed it had infrequent oil changes with low quality oil.
Thankfully I didn't find any serious damage, the worst being some idiot replaced one of the valve guides with a custom oversized unit - so fitting a replacement valve meant another trip to the machine shop (cheers Dino246!).
![Image]()
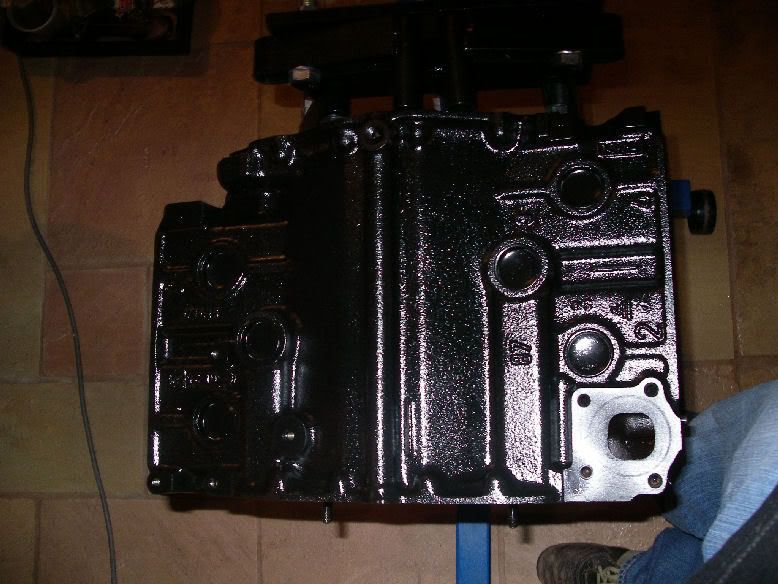
Nice and clean...
![Image]()
![Image]()
Hopefully I'll be able to keep it this clean!
![Image]()
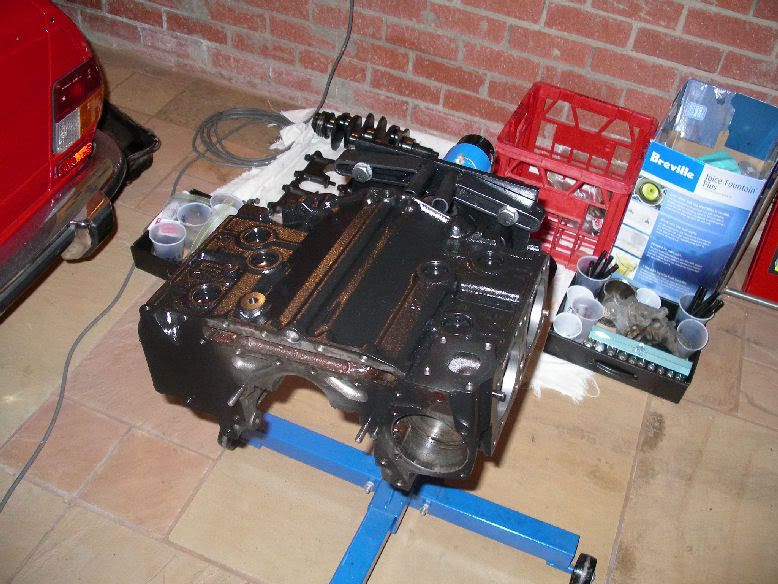
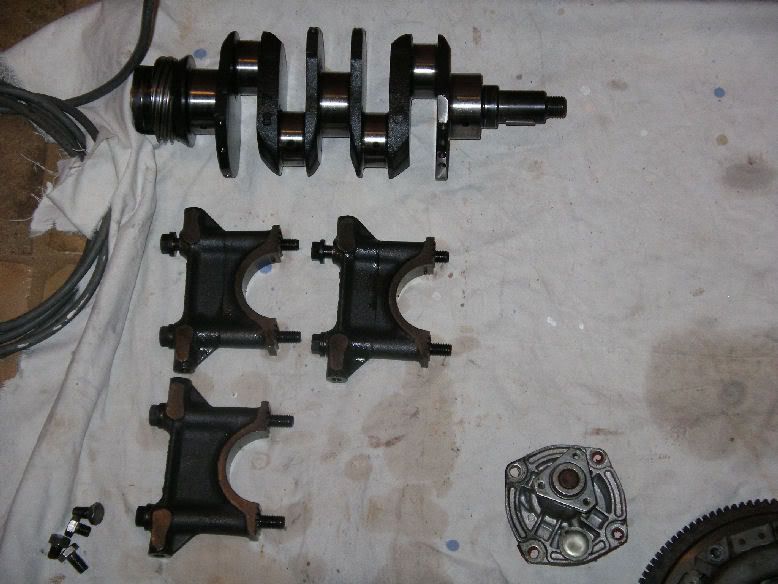
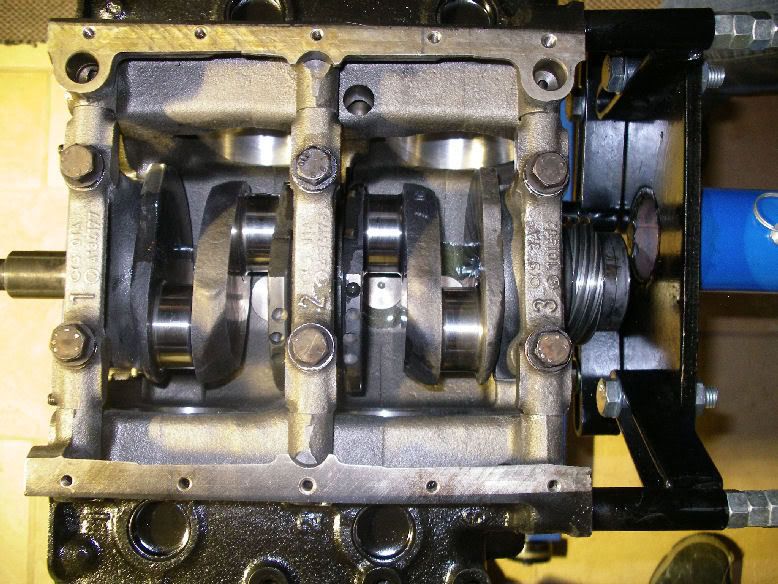
Crank awaiting to be dropped in. Hopefully I won't see this again for another 200,000 km.
![Image]()
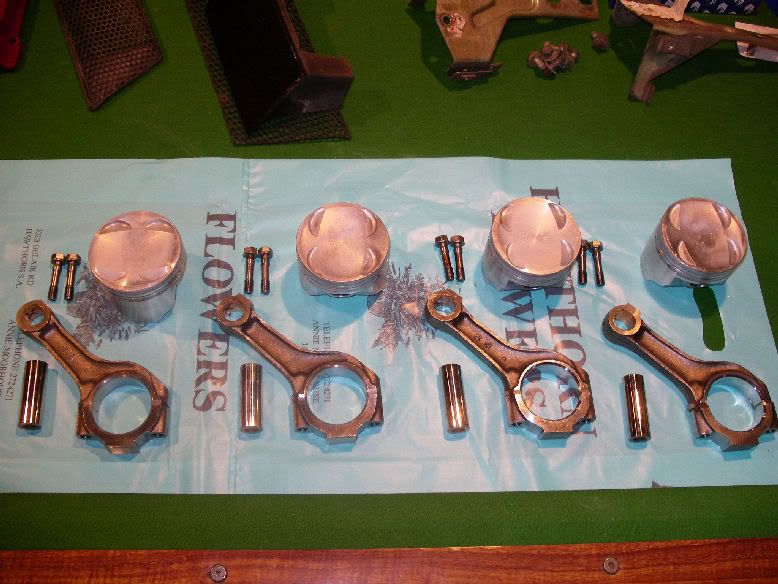
Pistons and rods awaiting assembly and the new rings.
![Image]()
![Image]()
![Image]()
Stock pistons - would have been nice to used my forged units, but this is just a daily driver.
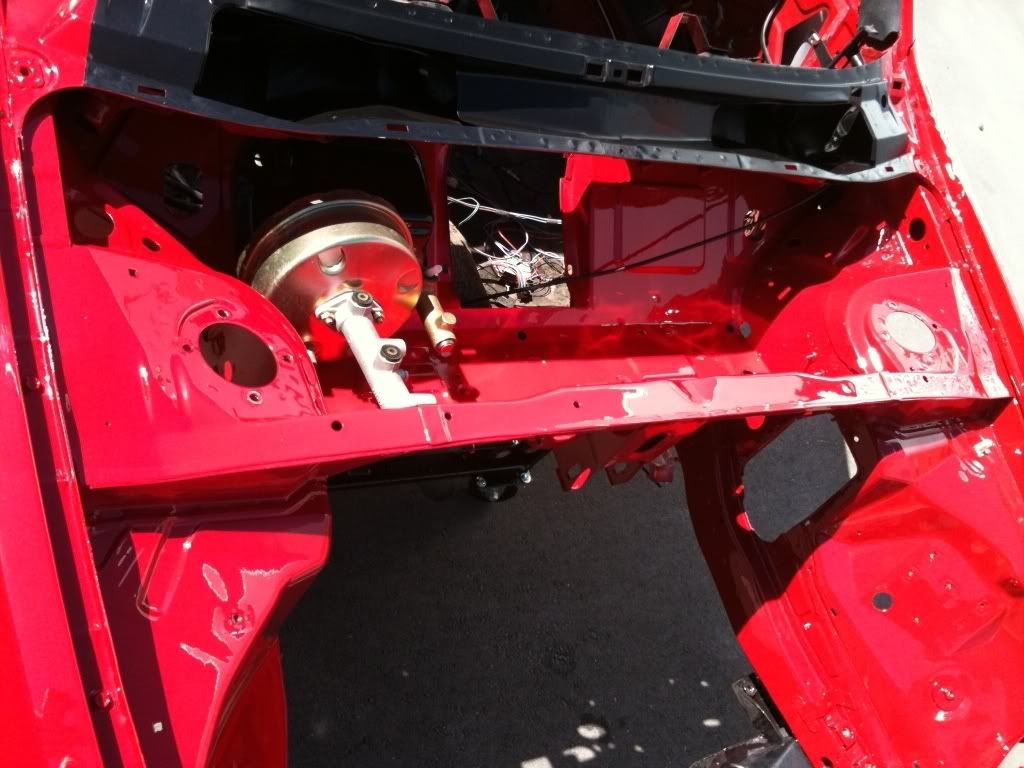
Everything was balanced, acid bathed, linished, etc. I'm awaiting return of the heads after the new valve guides are installed. Just about everything in the engine bay has been removed to be cleaned and rebuilt.
Thankfully I didn't find any serious damage, the worst being some idiot replaced one of the valve guides with a custom oversized unit - so fitting a replacement valve meant another trip to the machine shop (cheers Dino246!).
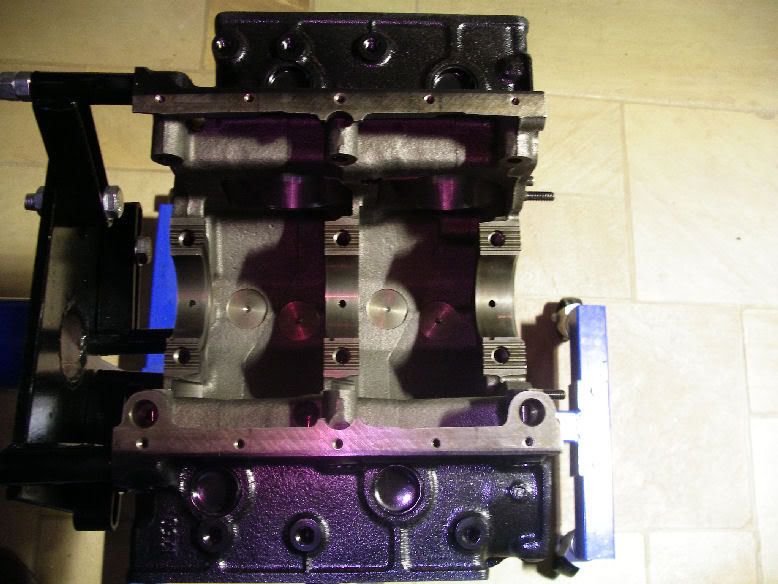
Nice and clean...
Hopefully I'll be able to keep it this clean!
Crank awaiting to be dropped in. Hopefully I won't see this again for another 200,000 km.
Pistons and rods awaiting assembly and the new rings.


Stock pistons - would have been nice to used my forged units, but this is just a daily driver.
Everything was balanced, acid bathed, linished, etc. I'm awaiting return of the heads after the new valve guides are installed. Just about everything in the engine bay has been removed to be cleaned and rebuilt.
")